![CRX_[HERO]_SHADOW](https://designrv.com.au/wp-content/uploads/2023/04/CRX_HERO_SHADOW.png)
![MICA-EVX_[HERO]_SHADOW](https://designrv.com.au/wp-content/uploads/2023/04/MICA-EVX_HERO_SHADOW.png)
![MICA-OFF-ROAD_[HERO]_SHADOW](https://designrv.com.au/wp-content/uploads/2023/04/MICA-OFF-ROAD_HERO_SHADOW.png)
![STRYKER_[HERO]_SHADOW](https://designrv.com.au/wp-content/uploads/2023/04/STRYKER_HERO_SHADOW.png)
![MICA-206_[HERO]_SHADOW](https://designrv.com.au/wp-content/uploads/2023/04/MICA-206_HERO_SHADOW.png)
![GETAWAY_[HERO]_SHADOW](https://designrv.com.au/wp-content/uploads/2023/04/GETAWAY_HERO_SHADOW.png)
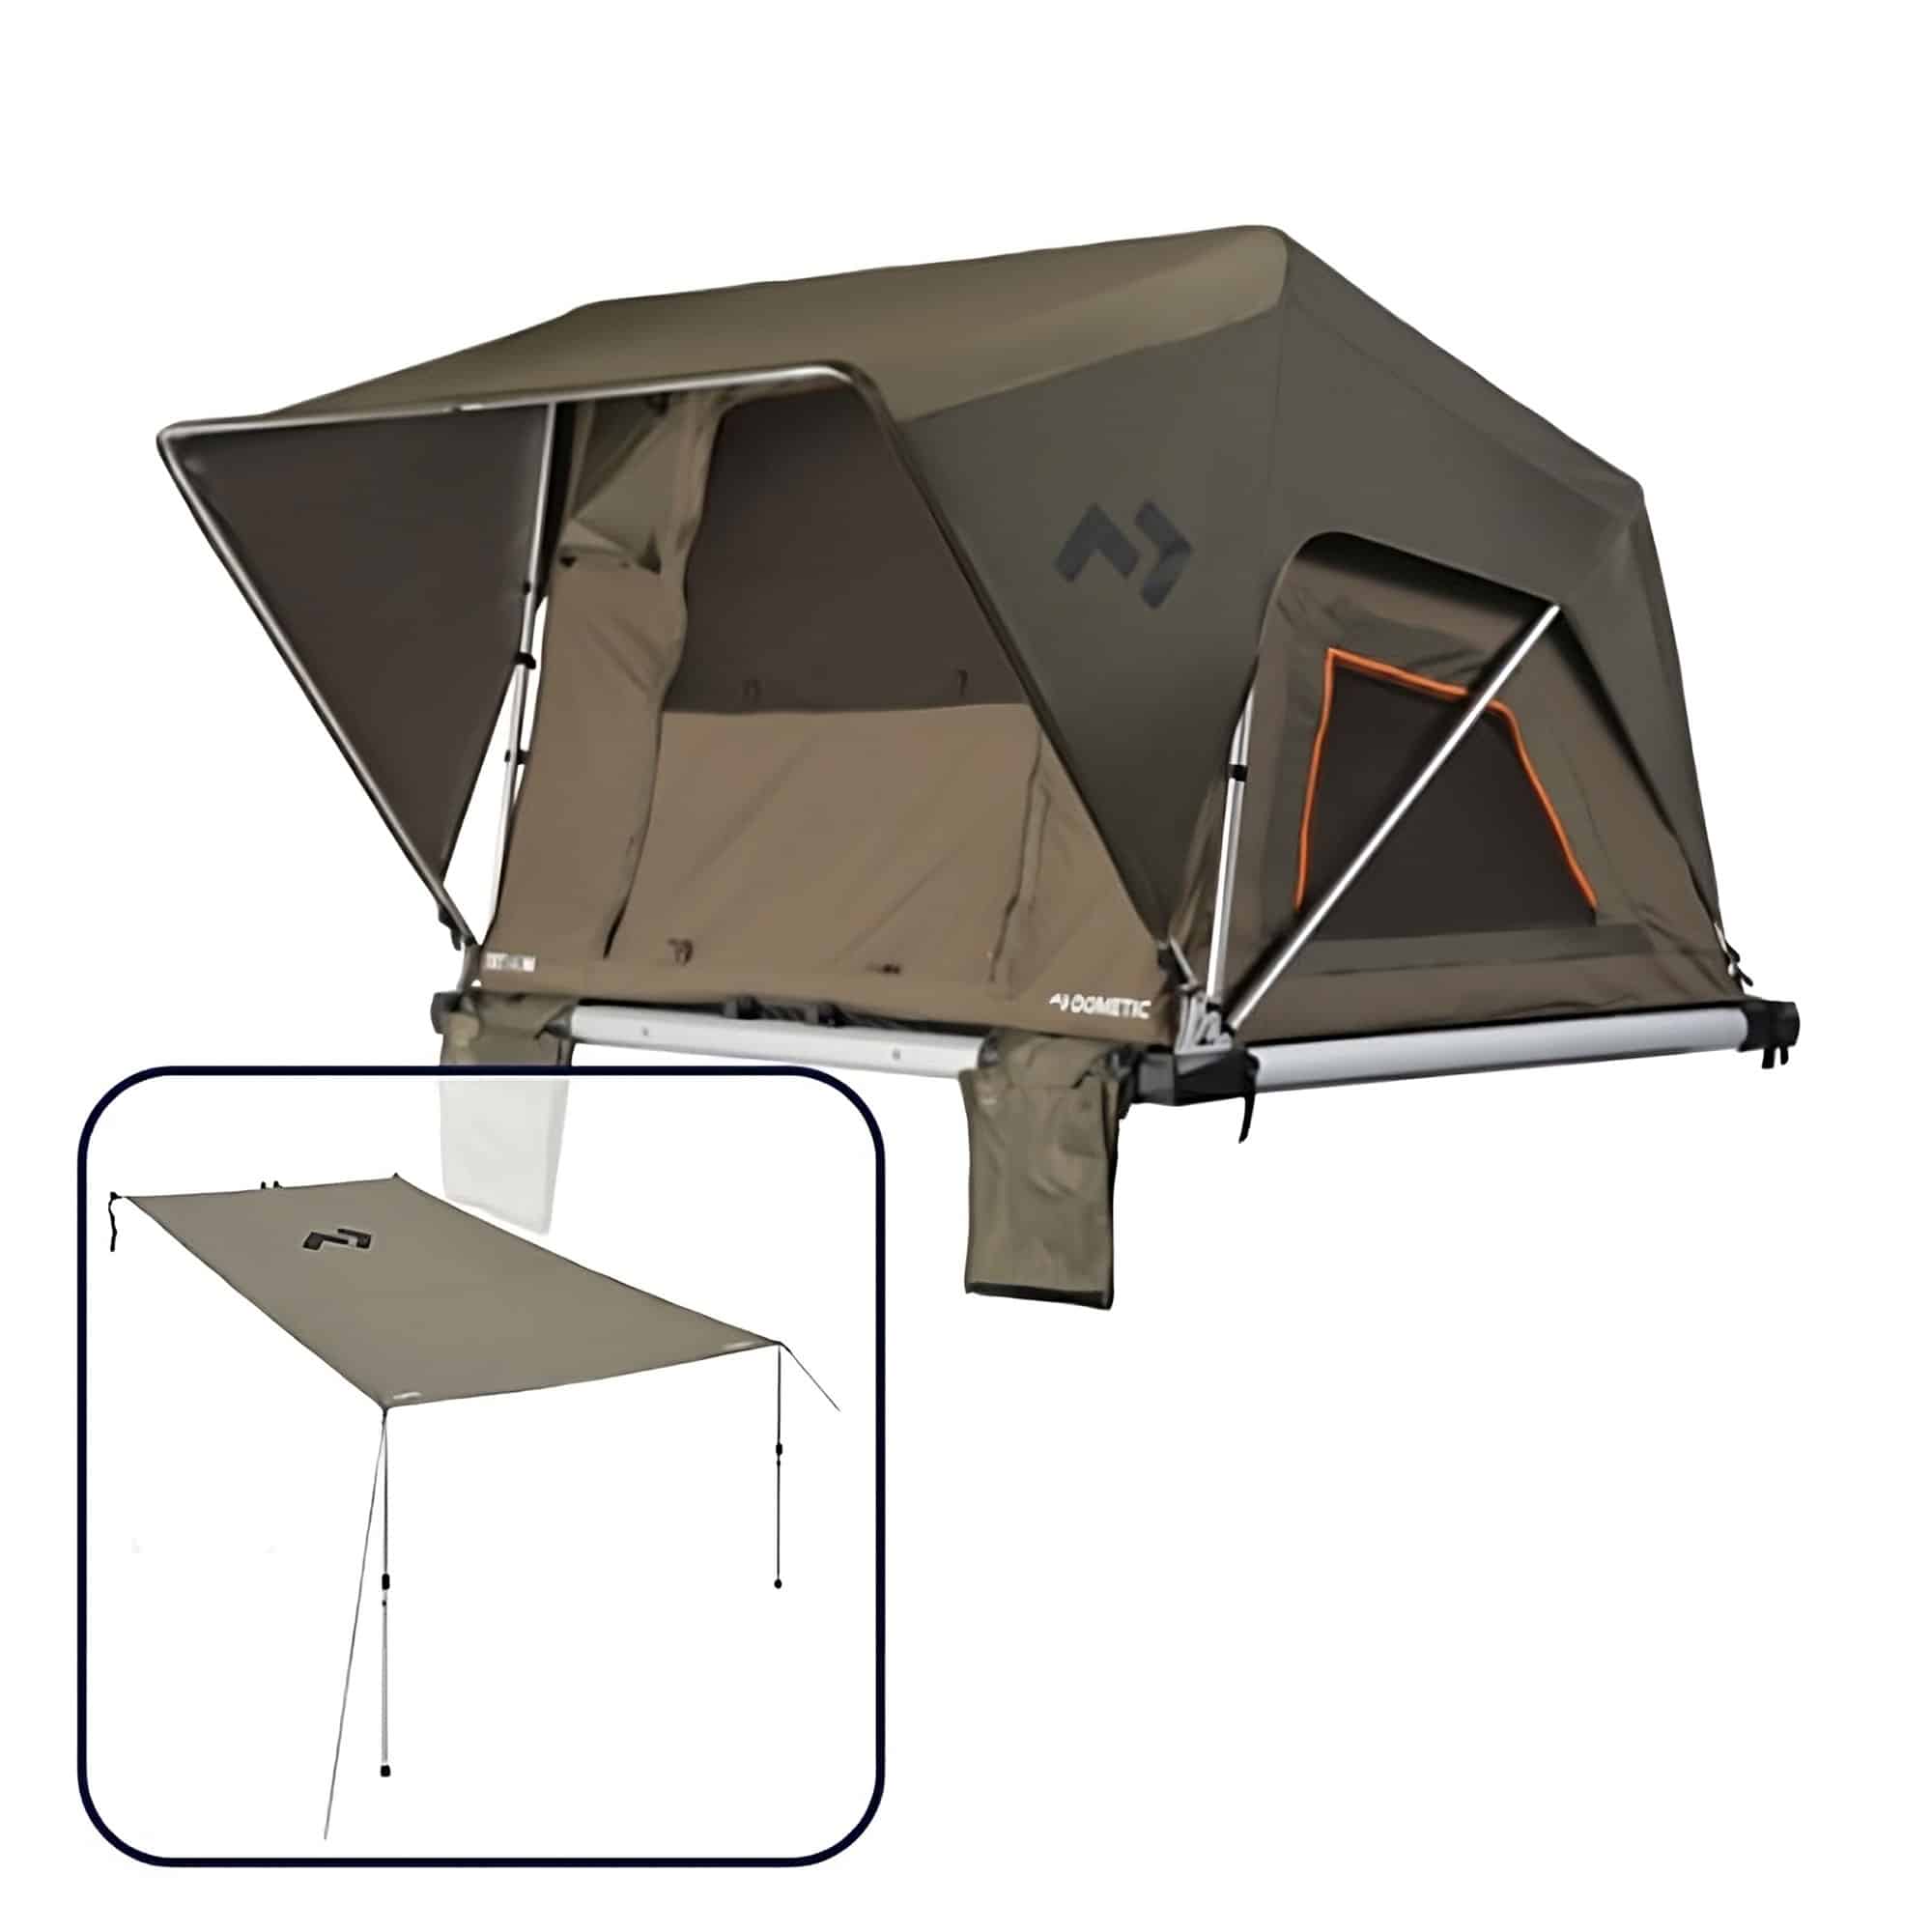
Roof tents have become increasingly popular among camping enthusiasts due to their convenience and versatility. These tents are made to be mounted on an RV’s roof, offering a cozy sleeping area that is off the ground. If you want to guarantee a stress-free camping trip and are unfamiliar with them. This step-by-step guide will help you set up an RV rooftop tent.
Step 1: Choose the Right Location
Before setting up your roof tent, find a suitable location on the roof of your RV. Make sure the area is devoid of any obstacles and offers a stable and flat surface. It’s essential to follow the manufacturer’s instructions regarding the specific placement and positioning of the tent.
Step 2: Anchor the Roof Tent
To secure the roof tent to your RV, carefully anchor it using the provided mounting brackets and hardware. Follow the installation instructions provided by the manufacturer exactly. Tighten the brackets securely to ensure stability while driving and during camping.
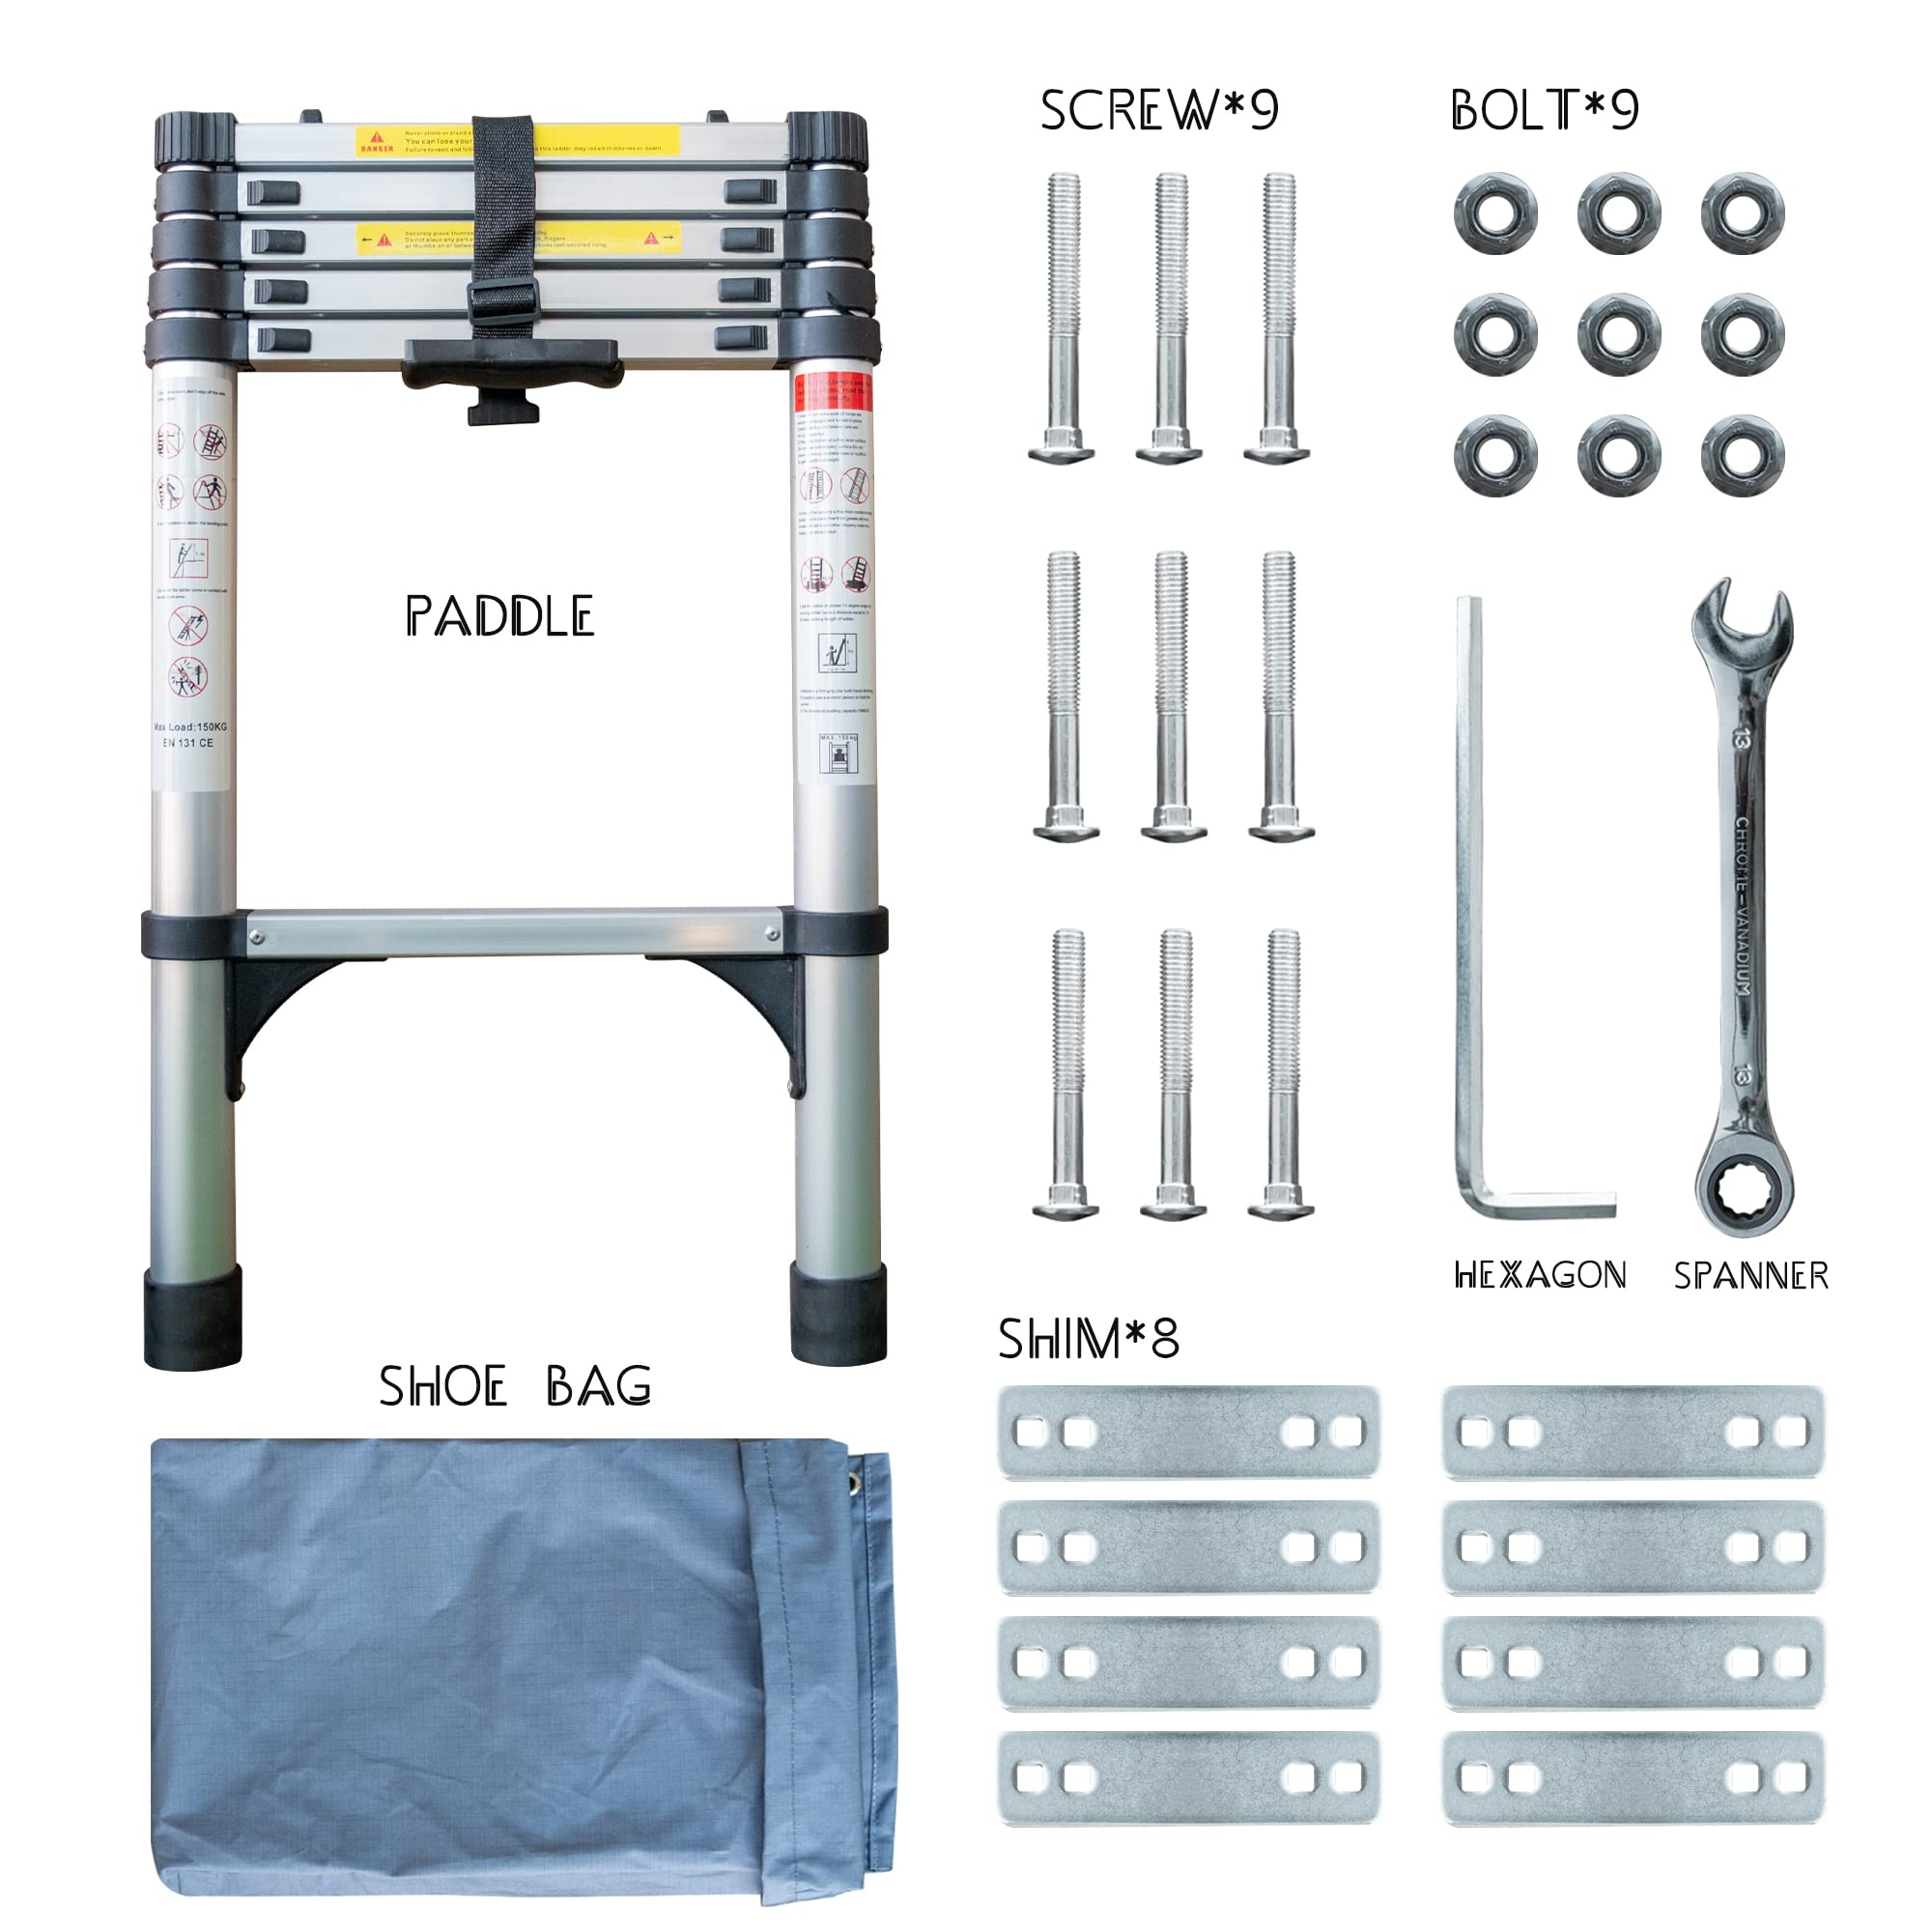
Step 3: Install the Ladder
Most roof tents come with a ladder for easy access. Attach the ladder to the designated area of the roof tent according to the manufacturer’s instructions. Ensure that the ladder is stable and properly aligned with the entrance of the tent.
Read more: Canvas Tent Maintenance And Care: Ensuring Longevity For Your RV Camping Shelter
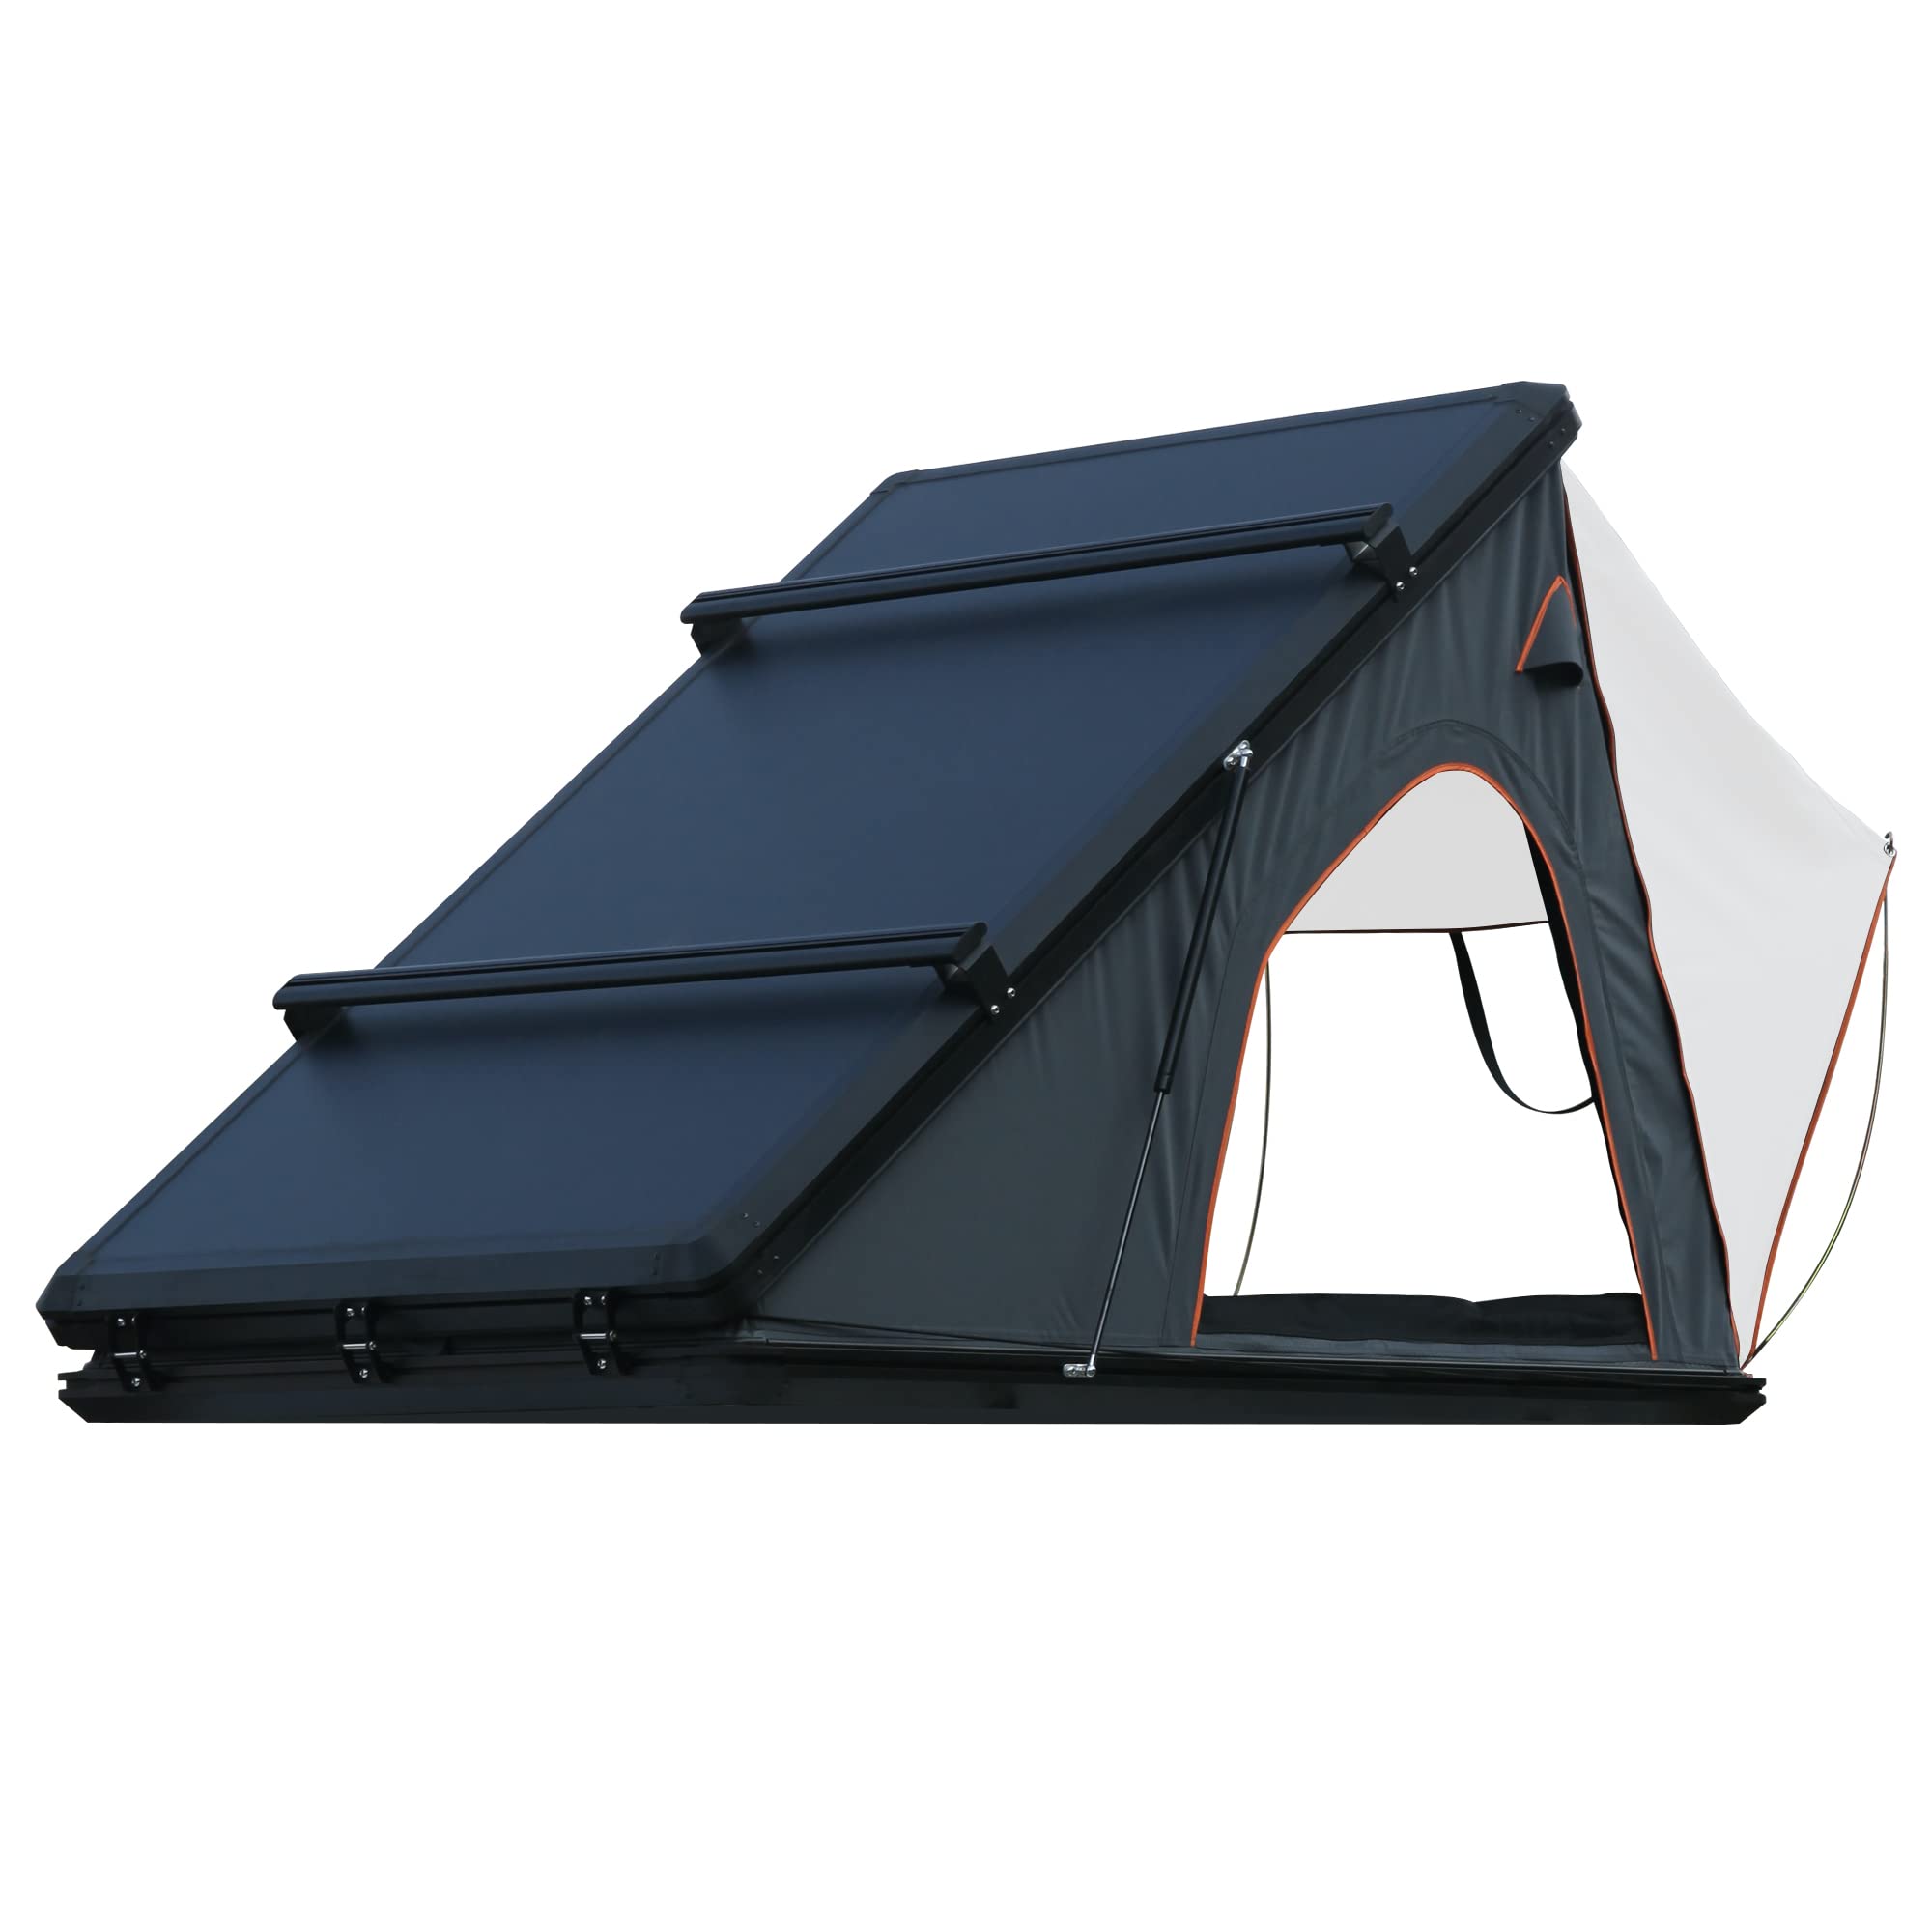
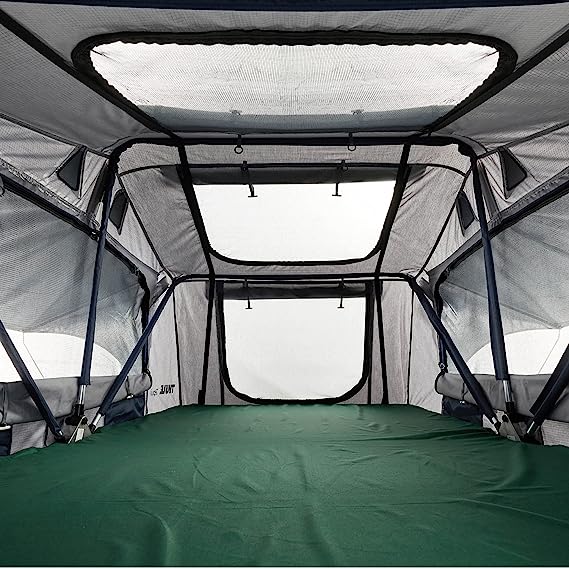
Step 4: Open and Extend the Roof Tent
Now it’s time to open and extend the roof tent. Begin by releasing any straps or fastenings that secure the tent in its closed position. With caution, start lifting and unfolding the tent until it reaches its full extended position. Be sure to follow the manufacturer’s instructions to avoid damaging the tent.
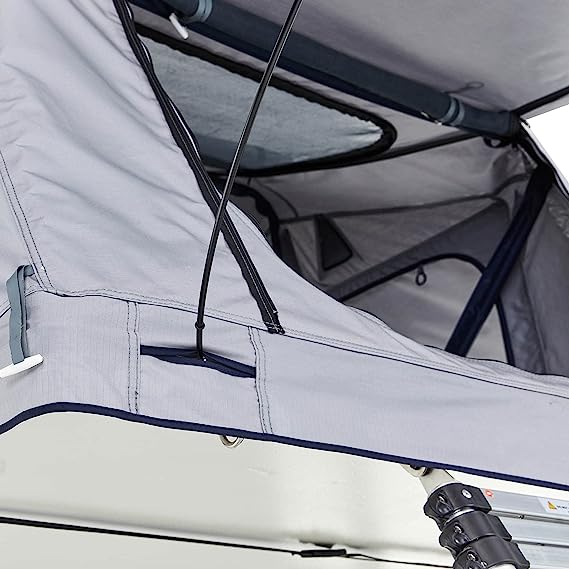
Step 5: Secure the Tent Properly
Once the tent is fully extended, secure it in place using the provided support poles and guy lines. These will help maintain stability in various weather conditions. Adjust the tension of the support poles and guy lines as necessary to ensure a taut and secure tent structure.
Step 6: Take Safety Precautions
Prioritize safety when setting up a roof tent on your RV. Make sure the ladder is secure and stable before climbing up or down. Always use the ladder and handrails provided, and avoid any sudden movements that could cause imbalance or accidents. Follow all safety guidelines provided by the manufacturer.
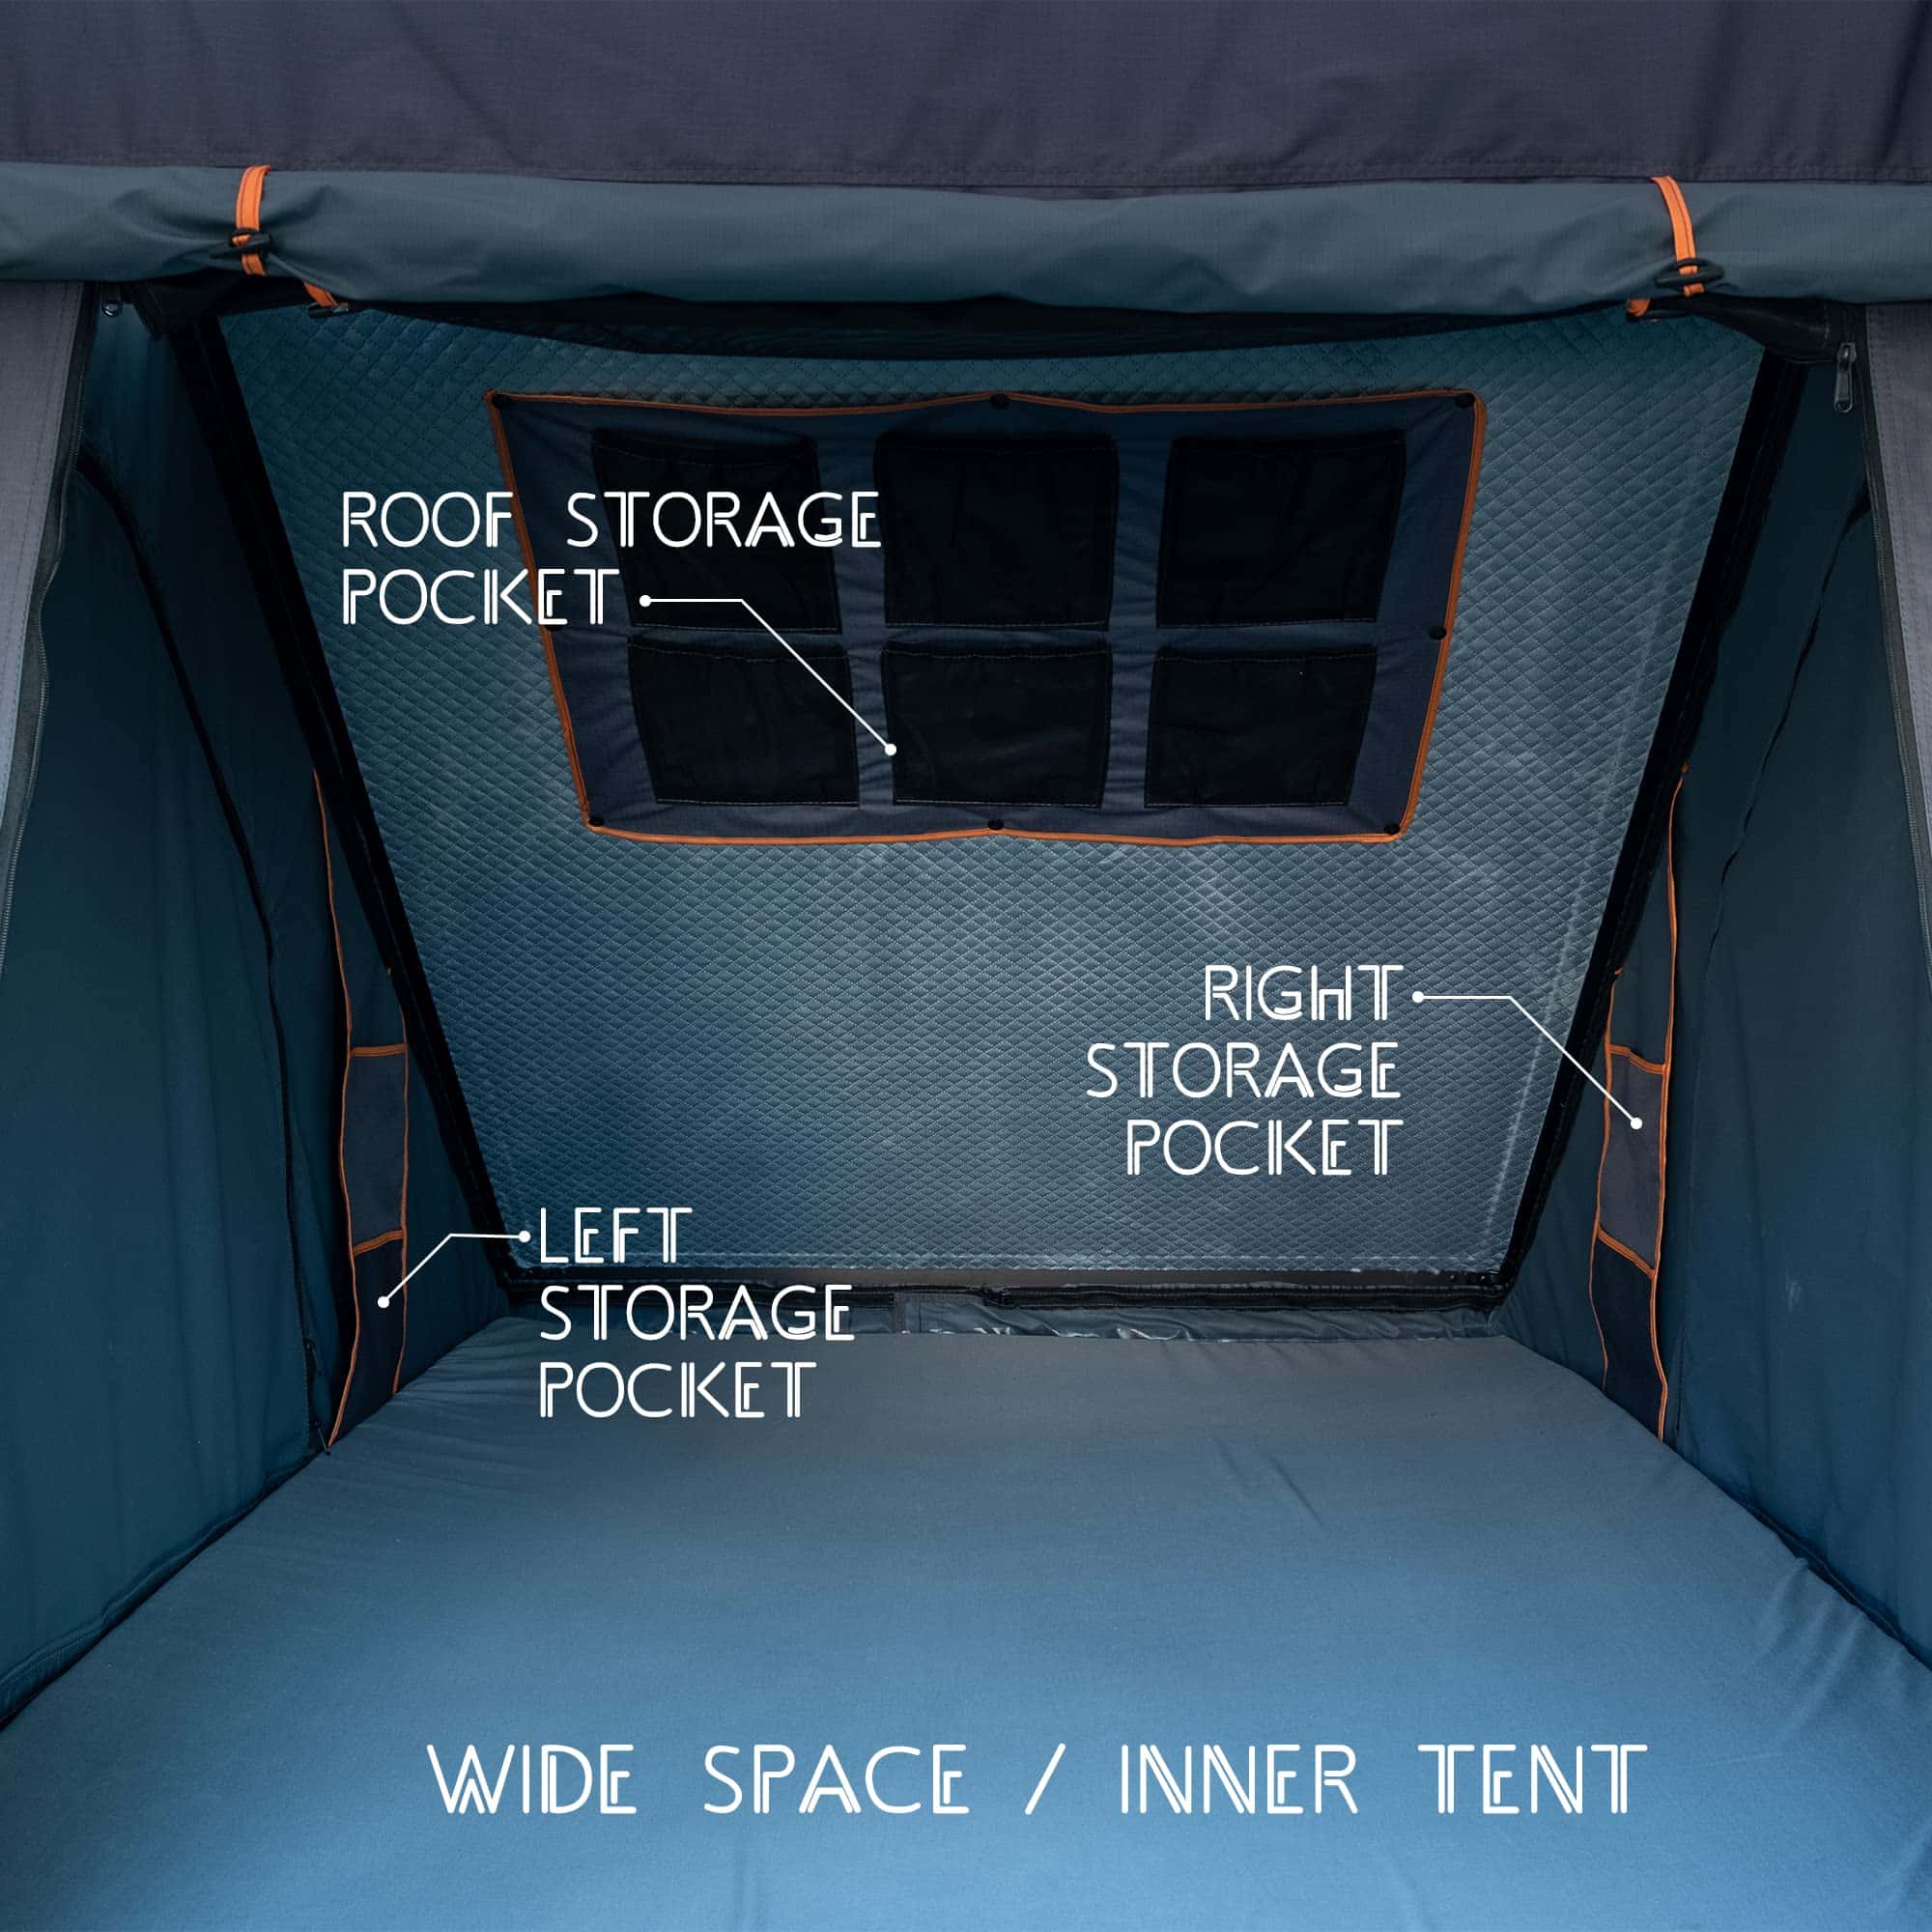
Step 7: Test and Inspect
Before using the roof tent for camping, thoroughly test and inspect all components. Check the functionality of zippers, straps, poles, and guy lines. Ensure that all attachments and fastenings are secure. Taking the time to inspect the tent will help identify any potential issues before your camping trip.
Conclusion
You can successfully erect a rooftop tent on your RV by following this step-by-step tutorial. Remember to always refer to the manufacturer’s instructions and guidelines for specific details pertaining to your roof tent model. With a properly installed roof tent, you’ll enjoy the convenience and comfort it provides, making your camping adventures even more enjoyable.